Tutorial: Mini Accordian Book
- Read time: 2 minutes
- Written by: Crafters Companion
Have you got your copy of the Crafter’s Inspiration Magazine Issue 10 yet? Look what you can make with the freebies from it!!! Wow we just love this mini album from Gemma Hynes! What a fabulous gift it would make, it would look fabulous with photo’s added to it too to make it personal to your loved one! Let’s get started and have some crafty fun!
Step 1: On a piece of chipboard, draw round the largest hexagon die, and cut out after adding an extra 5ml on all side.
Step 2: Glue onto Kraft card, and once dry draw a 1cm hexagon around the chipboard piece.
Ste 3: Cut around the hexagon shape, and using a bone folder/burnishing tool train the card to fold over the chip board piece
Step 4: Cut the triangle pieces away, remembering not to cut all the way to the point, so the chipboard does not show once the remaining card is glued over.
Step 5: Glue all the tabs into place
Step 6: Using the two largest dies cut out 7 hexagons, then cut a 2cm strip of card, scoring it at 1cm all the way down.
Step 7: Cut the strip down to make 2cm squares and use them to attach the hexagons together to make a mini accordion fold book.
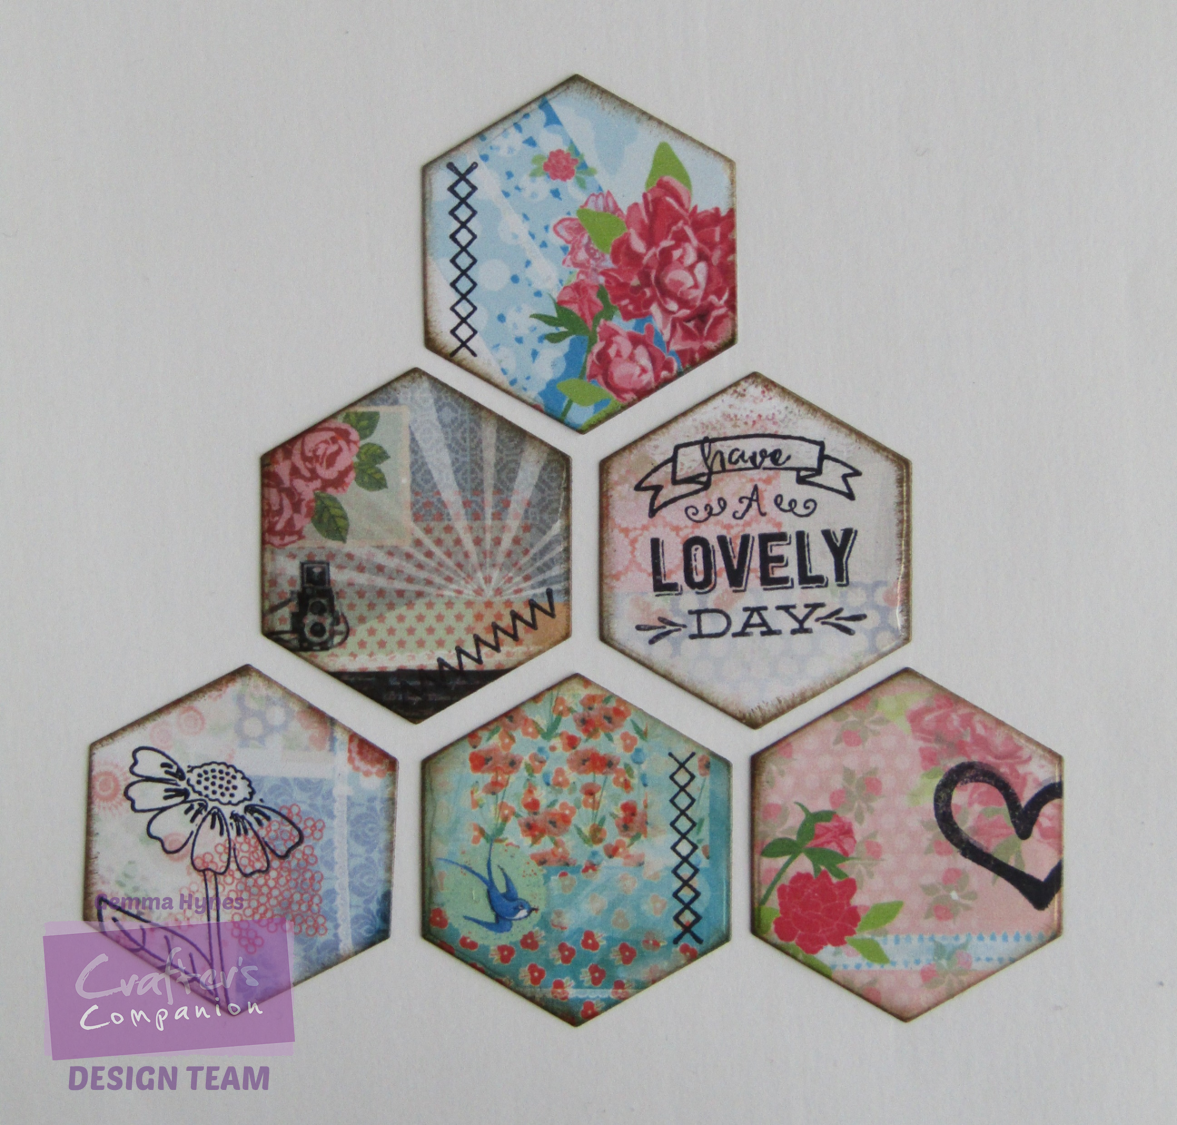
Step 8: Using the 2 largest dies cut 14 hexagons out of patterned paper.
Step 9: Stamp onto the hexagons with black ink for extra interest, and edge the with distress Ink.
Step 11: Using the small die cut several small hexagons from patterned paper and glue them together to form a larger hexagon, you need 2 of these
Step 12: Using a medium sized die, cut a hexagon from patterned paper, and stamp a word in the center
Step 13: Edge them all with Distress Ink, these are the toppers for the cover
Step 14: Glue a piece of ribbon along the back of the book, and glue one of the patchwork hexagons over the top
Step 15: Then glue the other patchwork hexagon onto the front cover, along with the stamped hexagon
Step 16: Tie the ribbon around the front of the book to tie it closed.
Crafter’s Companion Supplies:
Other Supplies: Chipboard & Ribbon
We would love to see what you make! Share your projects and cards with us on our Facebook page, tag us on Instagram (#crafterscompanion), onPinterest (@CraftersCompUK) or on Twitter (@CraftersCompUK)!


