Step-by-step card project with Spectrum Noir Academy of Colour
- Read time: 4 minutes
- Written by: Crafters

DuoColour Markers

You will need:
Step-by-step instructions

- Cut a piece of white cardstock to 11 1/2″ x 5 3/4″. Score at 2 7/8″ and 5 3/4″ to create a fold back card as shown in the image.

2. Time to create the mats and layers.
Cut black card to measure 5 1/2″ x 5 1/2″ and another piece to measure 5 1/2″ x 2 5/8″.
Next, cut a piece of white card to measure 5 1/4″ x 5 1/4″ and another piece to measure 5 1/4″ 2 3/8″. Attach the white pieces on top of the black pieces to create a stepped border effect. Glue onto your card base.

3. Cut out a circle from black card that measures 4 1/2″ in diameter. Next, cut out a circle in white card with a 4 1/4″ diameter. Glue together and adhere to the left side of your fold back section using foam pads.

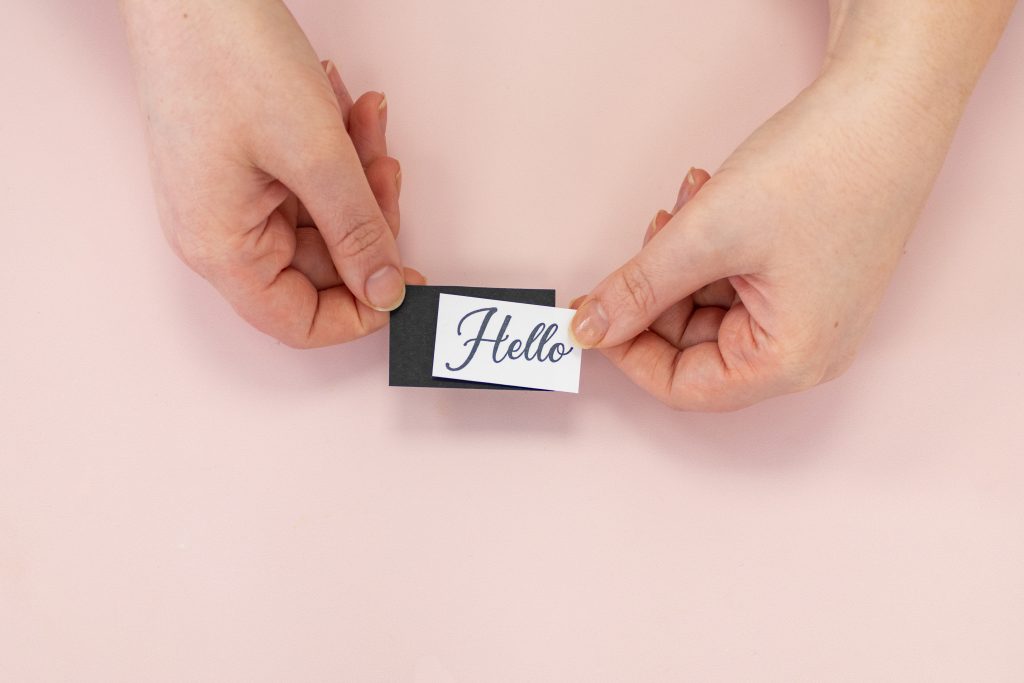
4. Choose a sentiment from the stamps included in your Academy of Colour set and stamp onto white card using the Finesse Alcohol Proof Inkpad. Cut out a piece of black card slightly larger and adhere together to create a mat. Attach to your card base using foam pads.

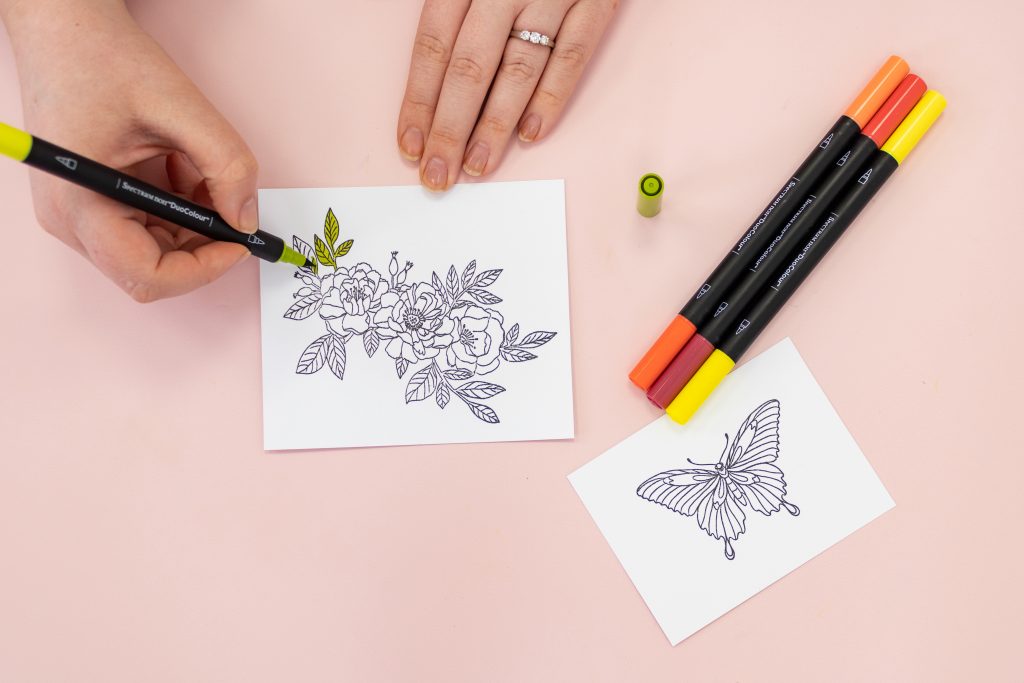
5. Stamp the butterfly and floral garland designs from your Academy of Colour set onto white Neenah card using the Finesse Alcohol Proof Inkpad.
- Layer FS7 on top of the others to lift the colours underneath.
- Use the Opaque White Pen to add bright highlights to the petals.
- Use IG5 as the base colour to add shadow, and add CT4 last to life the colours underneath.

Over a total of 18 hours, you will learn the difference between alcohol colouring and water colouring and practice a whole palette of new skills.
Bespoke kits are also available to purchase for each tutorial, with all of the Spectrum Noir markers, pencils and tools you’ll need to follow along. So you can stock up on your art supplies as you learn!


