Take a look around my studio #6 - 12x12 Paper Organization, and other sizes too!
- Read time: 4 minutes
- Written by: Tiffany Spaulding
It seems that I’m constantly pulling paper out of my “stash” to use for some type of demonstration.
That, in and of itself, is not the problem. The problem is I get in a hurry putting it away, so I just stuff it in an empty slot, thinking – “I’ll get back to that later.” And as you all know, “later” never happens.
I’ve set some goals with this paper sort to use a variety of paper organizers, so in the future, I’ll have products to demonstrate with, without pulling everything apart. Let’s get started.
Step 1 – Create an “Organized only Space.”
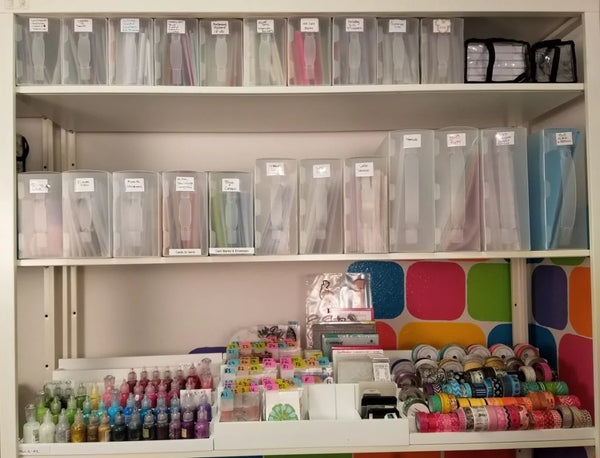
This was pretty easy, I have shelves/cubes already dedicated to paper storage, I just pulled out all the messy paper and put it on my Origami shelf. I love my Origami shelves, they just roll along with me.
As always, I used this opportunity to dust the empty shelves – I don’t understand how shelves get dusty when they’re full of stuff. Anyway, I do love a dirty cleaning cloth.


Step 2 – Set up and Sort
I already had divider tabs labelled from the last time I did a major paper sort.
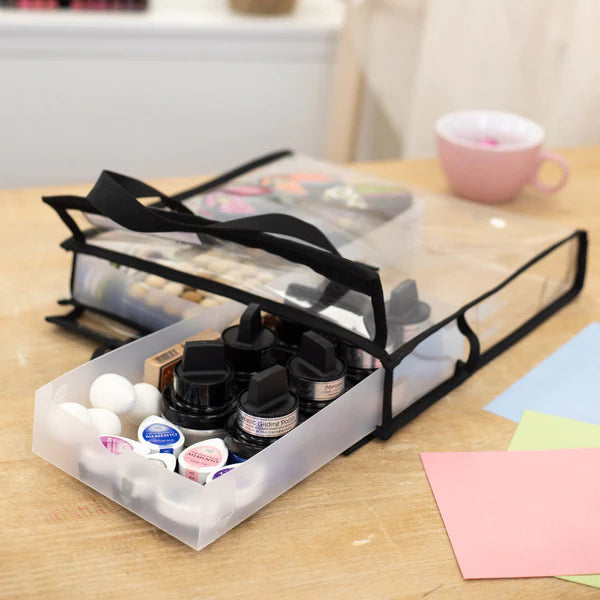
I set up a couple of Paper Handlers and started sorting. Once my Paper Handlers got to about 2/3 full, I added another Paper Handler and split the contents of the first boxes. This keeps all the dividers and the paper standing up straighter so it’s easier to “file.”
One of the reasons I like to sort paper this way; it takes up a small amount of space and it’s easy to put away if you need the workspace for something else. I’ve got everything on my Origami shelves, which is nice because I can just roll the whole unit out of the way. If you’re unfamiliar with Origami, you can check them out at HSN. Super functional, collapsible shelving that is ON WHEELS!! Yipee, you know I love that. (Most blog post pictures can be viewed larger, just click on them.)


I started with 2 Paper Handlers loaded with labeled dividers.
As Paper Handlers “fill-up” add another one and spread out the sorted paper.
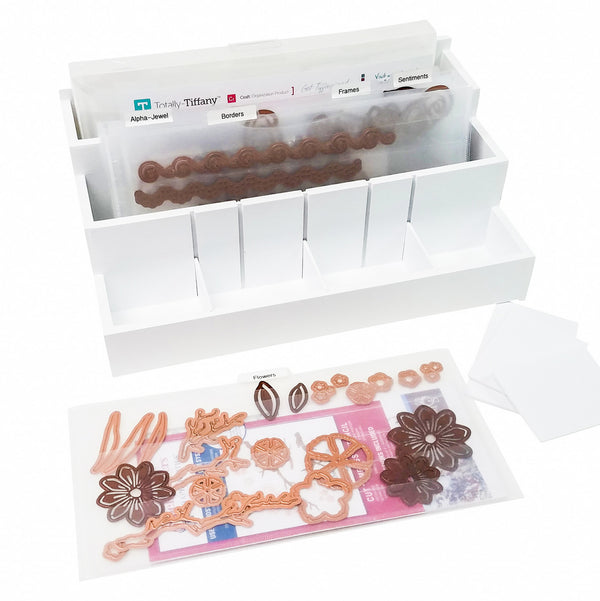
I used 5 Paper Handlers to sort my paper.
I did sort all of my paper into the 4 Section System ( just 3 sections for paper), but I didn’t put it all in Paper Handlers or Paper Storage Boxes.
Smaller themes or categories will usually go directly into my ScrapRack. As an example, the “handy-man” paper below was only about 8 sheets of paper, this is a perfect amount (8-12 sheets) to slide into a SuperSized Single and then add to my ScrapRack. It will be right next to the coordinating stickers, embellishments, etc.
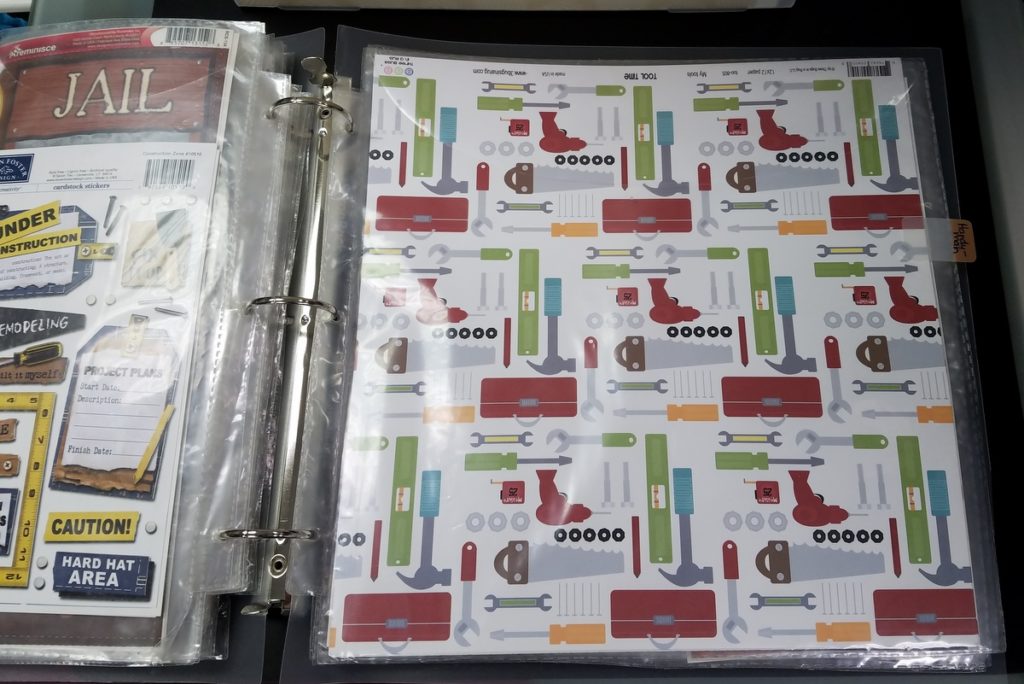
In the interest of full disclosure, the JAIL sticker showing on the left side of this image is a cowboy theme – “Wanted for being so cute” – collection. I don’t have any first hand criminal experience to be scrapping about.
I also use SuperSized Singles for adding rigidity to paper going into a Paper Handler or for keeping collections together within a Paper Handler or Paper Storage box. The “paper” in the image on the right is a printed piece of burlap. It stands up in the SuperSized Single Pocket, but without it, it would sag to the bottom of the box.


I have a couple of Echo Park paper collections. These are REALLY thick cardstock, and each collection has about 12 sheets. They’re really just too thick and heavy for my ScrapRack. I put all the cardstock together, then used a Paper Pocket to protect the coordinating sticker sheet. The Paper Pocket also serves as a great label/divider for the collection.
Step 3 – Put it all away!
The last step is probably the easiest. Put your sorted paper into the Organized Only Space you’ve created.

Thanks so much for stopping by today to do this tiny tour of my studio. If you missed the earlier posts, you can view the first post – Take a look around my studio #1 – now, or choose the post from the list on the right side of my blog.
Please do share this with your crafty friends who might need a little help getting organized. If you love our products, please do share that with your friends, too! We love referrals!!