How to make your own treat boxes
- Read time: 2 minutes
- Written by: Crafter's Companion
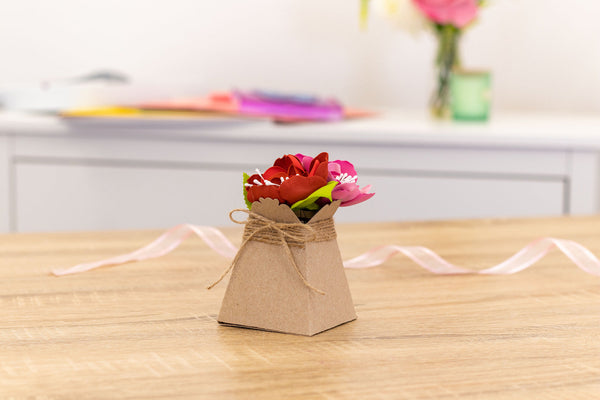
Whether it’s a birthday gift for a friend or a Christmas gift for family member, gift giving is always a personal thing, with lots of thought involved! Go the extra mile next time, and create your own treat box with the Gemini Dimensionals Die range, perfect for small gifts and sweets.
Follow our guide below to create your own.
You will need:
- Crafter’s Companion Glue Tape Pen
- Guillotine
- Gemini Dimensionals – Picnic Treat Box
- Gemini Die Cutting and Embossing Machine
- Scissors
- Pencil or pen
- 1pc coloured A4 multi purpose cardstock
- Craft tape
- Crafter’s Companion Bone Folder (optional)
- 2pc coloured multi purpose cardstock measuring 6 x 6″

Getting started
- Take your A4 coloured cardstock and place the main outer box die on top, securing in place with craft tape. Pass this through your Die Cutting Machine until you’re left with a die-cut piece then fold and burnish all of the score lines. You can use a Bone Folder for this to get a crisp edge!
- Take your cardstock measuring 6 x 6″ and put the smaller metal dies on top, securing in place with craft tape. Pass these through your machine again until you’re left with the die-cut pieces.
- Using a strong adhesive like the Crafter’s Companion Glue Tape Pen, glue together the white tabs shown in this image. Ensure you do not adhere the lid.
- To make a basket-style Picnic Box, repeat steps 1 and 2, and glue the boxes back to back. The lids can be secured with our Hook and Loop dots (sold separately). You can then add a strip of cardstock to use as a handle; this can be made to your desired length.
- Using your lid template, draw and cut out the lid shape and glue the tabs together. Draw around the remaining template and cut out four of these (scoring down the fold lines). Cut a square sized 5”x5” and adhere the tabs from the template to the edges of the box – this will create your base.
- Using the four boxes you created, stick them to the inside of the box sides as shown in the image, making sure the lids face outwards when opened. These can be secured with our Hook and Loop dots (sold separately).
Don’t forget to share with us on Social Media! Follow and tag us on Facebook, Instagram, or TikTok or tag us using the hashtag #crafterscompanion.

